

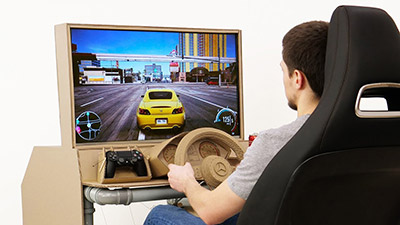
Your Racing Simulator Cockpit DIY Project
If you like to have your own DYI projects and you love driving games, then why shouldn’t you begin your own racing simulator cockpit DIY project?
Discover the best gaming chairs in 2019.
The truth is that while you may be able to afford a racing simulator cockpit, you know that it can be a lot of fun to build your own. So, here are the steps that you need to take for your racing simulator cockpit DIY project:
Step #1: Set Your Budget:
One of the more important things of all DIY projects is to have a budget. So, you should start by taking a look at the prices of the different components that you need to buy and establish a budget for each one of them.
Step #2: Decide The Location:

If you are in a student room or if you are single, a lot of gamers prefer to place their racing cockpits on the bedroom. However, the ideal place to have it is at an office or in a spare room. This is important because this way, you can see how much space the racing cockpit is going to take and if you need to move some of the furniture that you already have.
Take a look at the best racing simulator seats in 2019.
Step #3: The Steering Wheel:
No matter how much money you can spend, this is where you need to start. Even though you may only have the cash for this part, you are already starting and the wheel is the basis of everything. Besides, you can always mount it to a desk or table.
In terms of the brands, you should definitely consider Logitech, Mad Catz, and Thrustmaster. These are, by far, the most reputable and trusted companies and their steering wheels tend to be very reliable. Notice that you can also take a look at the wheels sets that come with pedals and a shifter. This way, you may end up saving some money instead of buying the three parts separately and wondering if they are even compatible.
Looking for a motion racing simulator cockpit?
Step #4: The Screen:
When it comes to playing games, the bigger the screen the better. However, it is important that you keep some other aspects in mind such as refresh date, quantity, and even clarity.
One of the latest trends for gamers are curved TVs. However, if you do a quick search, you will discover that there aren’t many available on the market. However, there are other options.
In case you have a low budget, you should go for the biggest screen your budget allows. Just make sure that you get an LCD with LED backlighting and that it is anti-glare. In terms of the refresh rate, you should look for a screen that shoots for at least 120Hz.
Step #5: The Mount:
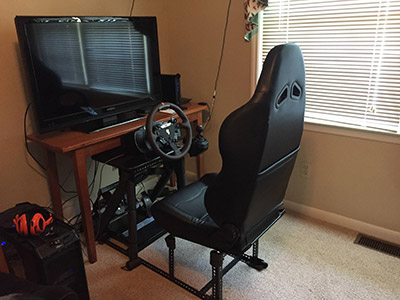
The mount is extremely important since you need to make sure that the frame is able to handle all the weight. Besides, each individual panel that you have (for the wheel, pedals, and shifter platform, not to mention the screen) need to be able to handle the right way and still make them adjustable.
Check out this racing simulator cockpit for sale.
Step #6: The Seat:
The truth is that the seat is the object where you should spend the fewest dollars. After all, you can find pretty good ones in a scrap yard or even online.